I was quite surprised to see how under documented installing a 64-bit operating system onto a Raspberry Pi is. Many articles out there talk about needing to compile Linux, which sounds oh-so-pleasant. One day, I stumbled across a 64bit OpenSUSE version that was compatible, but the installation instructions required a Linux OS to be done properly. Since I primarily work on OSX, this presented yet another barrier.
After a lot of searching around, I finally found a straight forward and simple way to do it.
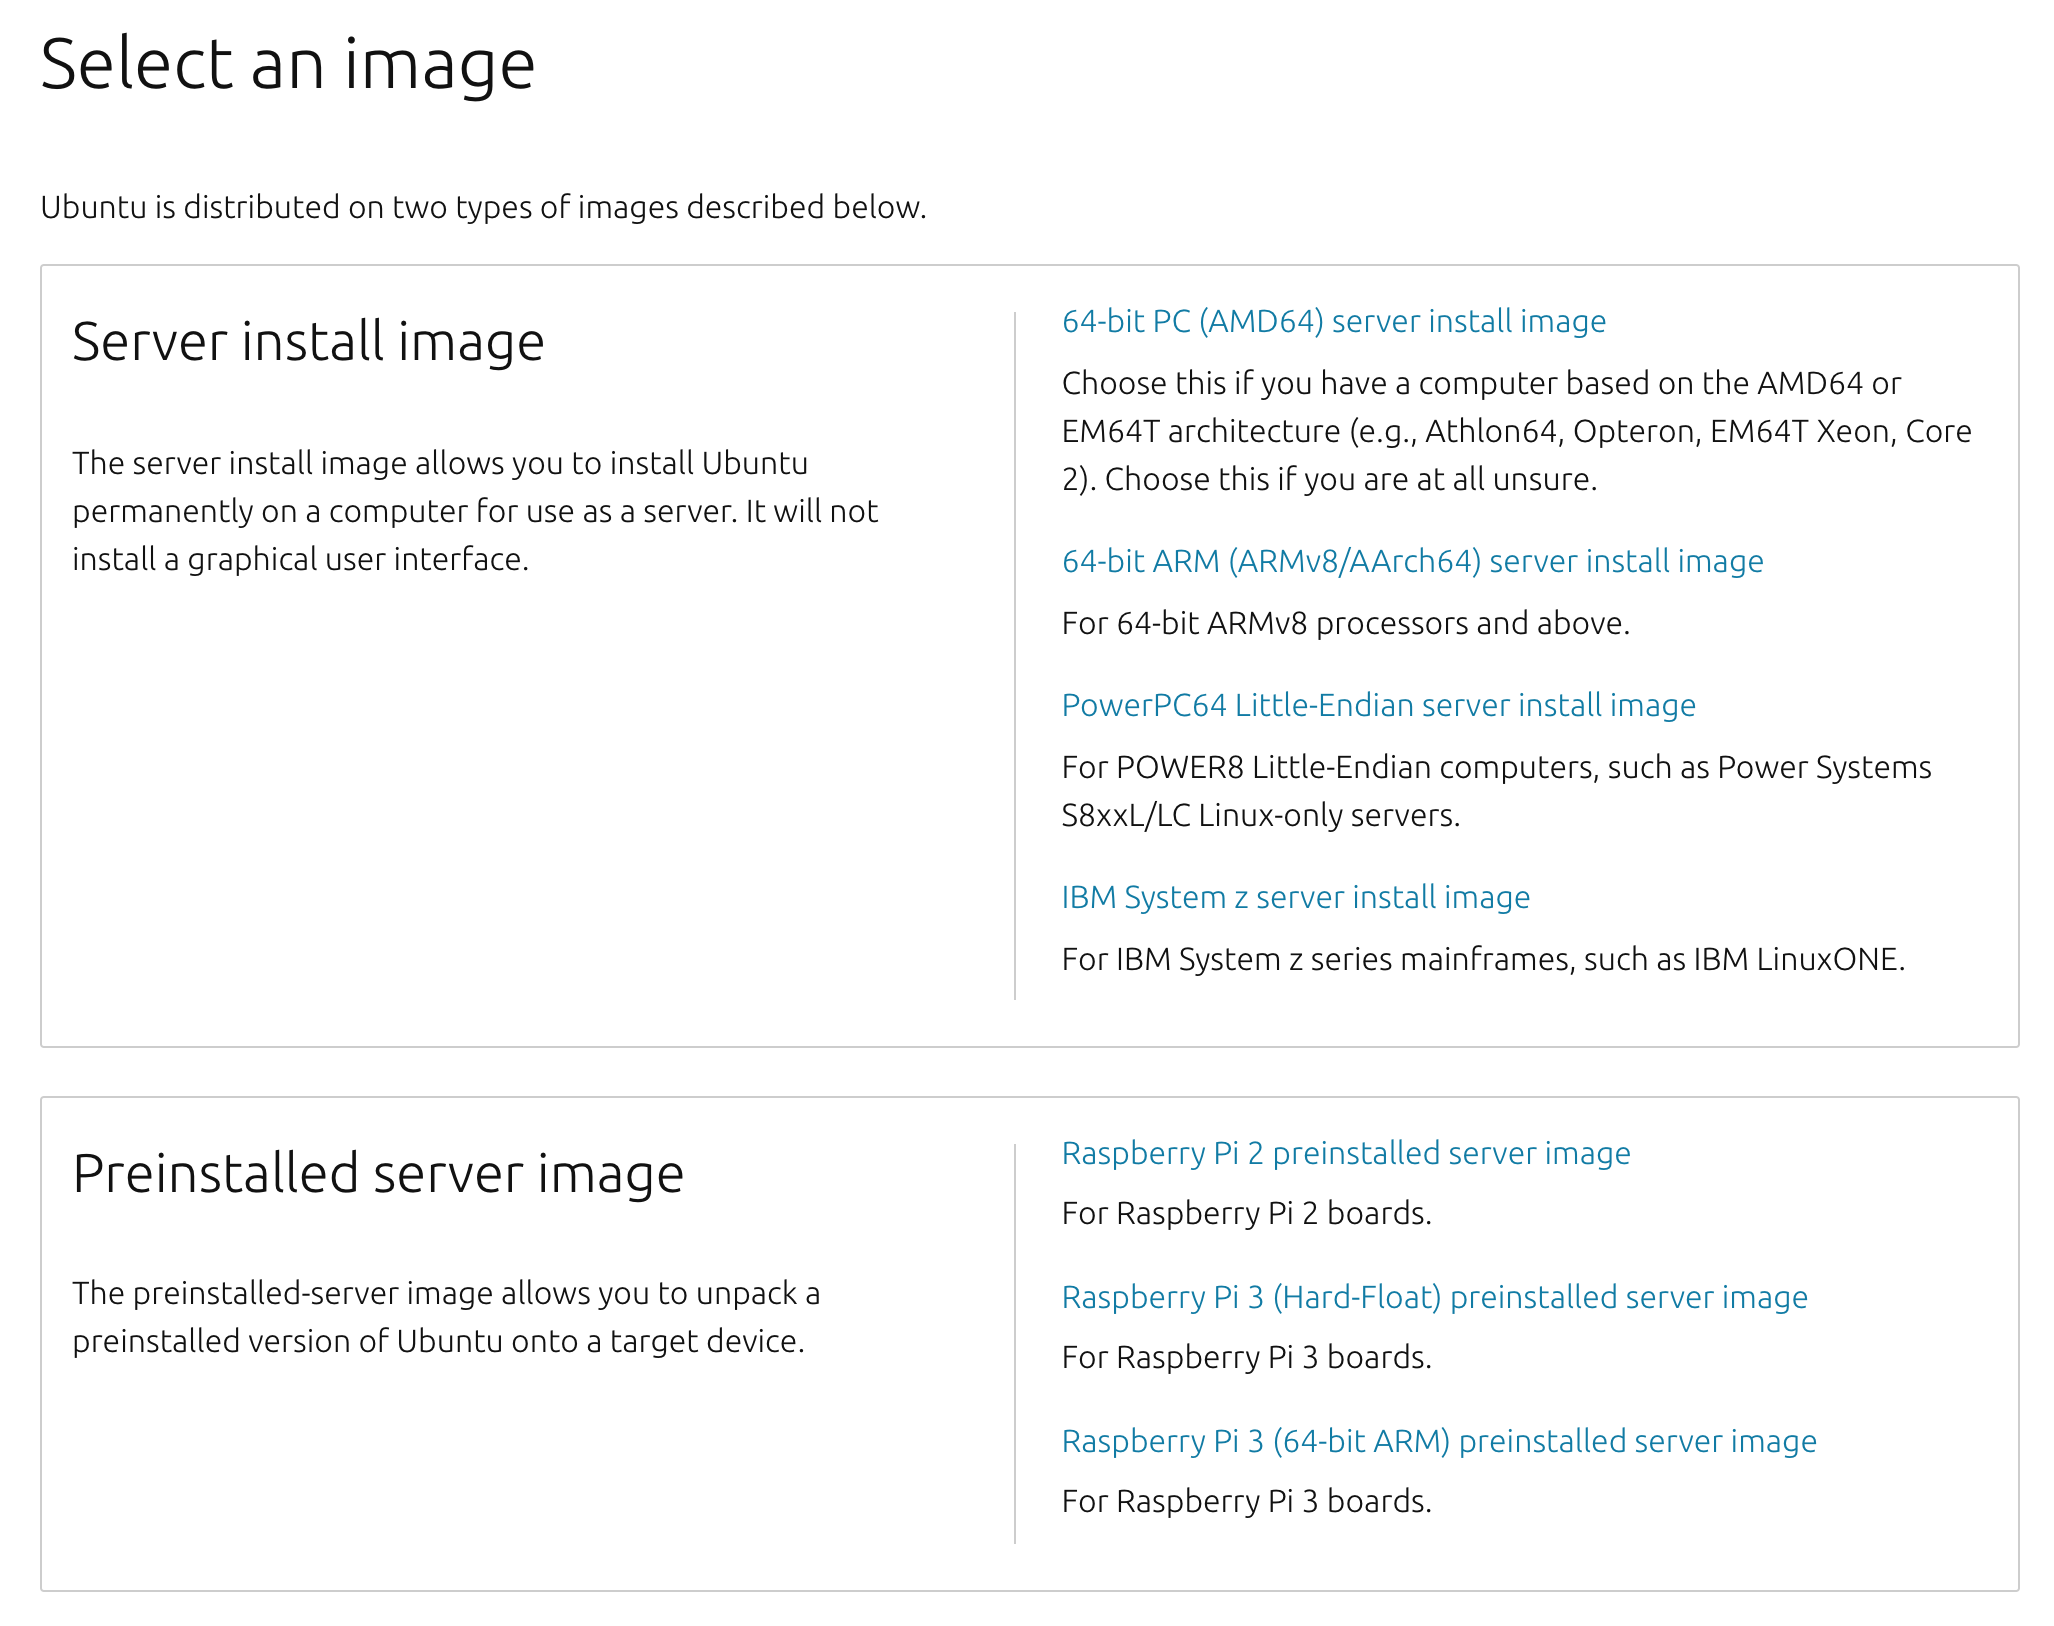
I remember hearing about Ubuntu’s active support for ARM. I went to the 18.04 release page and looked at what they offer out of box. They not only included the ARM server images, but they also provide an image built specifically for the Raspberry Pi.

The reason I really liked this option is the image that is produced by Ubuntu is compatible with Balena Etcher. Etcher is a rather popular tool used to quickly flash SD cards with new operating systems. Quite often, it’s referenced as an installation method for creating bootable media.
- Download and install Balena Etcher from their site.
- Download Ubuntu 18.04 for Raspberry Pi 3
- Flash downloaded ubuntu.img.xz onto your flash drives using Etcher
- Once complete, eject the flash drive and insert into your Raspberry Pi.
- Connect your pi to the network and a power source.
That’s it!
The default hostname, username and password are ubuntu.
One of the immediate differences you’ll probably notice is that the node will not be resolvable via ubuntu.local.
(This presumes that your router supports network level host names).
You’ll need to get the IP address through your router’s management console or by grabbing it from the Pi directly.